


Luke, if you scroll down one topic, I pretty much covered that messy little bit of work with Mr. Whalen's questions. I've had to figure this stuff out, as both Schwippert and Nelson would put foam on, then decide it didn't quite feel right, and I'd get to reposition the stuff on their decks. Note that it dosen't always come out smoothly, or even like you planned, even the 2nd time around! Best bit of advice is that you get used to inserting blocks with only some of the sticky-back exposed, and stand (preferably even skate, GENTLY) on the deck with foam bits in place (or close to where you think it'll work best), and FEEL what's best. Then you can go about making the foam positioning more permanent by peeling away the rest of the non-stick paper backing and slapping on your griptape. Don't be shy about using common tools like carpet knives,contractor's squares or rulers, rasp files, even Surform rasps to shape the foam parts into what will be the best FEELING contour for your stance, your feet.. Griptape and spray-on adhesives can make even 1" bits stay in place, although the Gorilla Glue definately Secures things better. Also, plan your bits by using cardboard cutouts of the shapes you're looking to use, and compare those shapes (footprints) to the bigger, uncut foam pieces you have. This will help you get the most out of the foam pieces you have (I guess you even model it out with a good CAD program, I'm just 'old-school' enough to prefer cardboard). If you do 'corners', or spots where you combine two pieces of of foam that are different depths or wedge angles, keep in mind that the rasps I mention are really handy at smoothing the fit between bits out so that the griptape dosen't crease at the joint[s]. You see the difference, but mostly you feel the difference if the foam pieces fit together well.
Good luck with it alkl. Remember to be patient, and plan it out, make it fit, and Feel it out before you glue or cover it over with griptape.
C-Block Foam Kit Setup...
Moderator: Henry Julier
-
Eric Brammer
- Posts: 324
- Joined: Sat Sep 25, 2004 4:48 am
Foam block movement
"Surfin' these Old Hills since back in The Day"
-
Jonathan Harms
- JBH - ISSA Treasurer

- Posts: 890
- Joined: Wed Apr 16, 2003 2:00 am
- Location: St. Louis, MO

-
Sean Cunningham
- Posts: 60
- Joined: Sat Jun 04, 2005 6:39 pm
- Location: HILLSdale, NJ
- Contact:
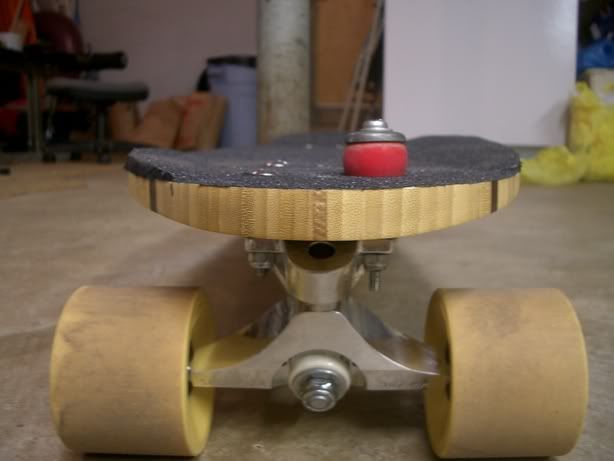
Well, thanks to help from guys like Civ and Chris Barret and a bunch of other people on here, I laid down the foam and gripped over it, then shaved down a bushing for a toestop...
I made a rear footwedge and also concave for my front foot.
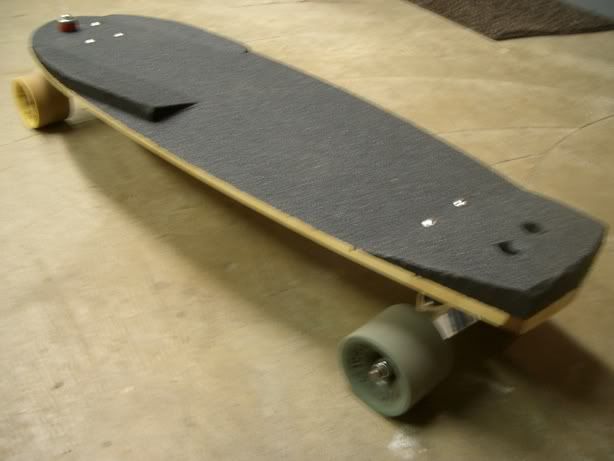
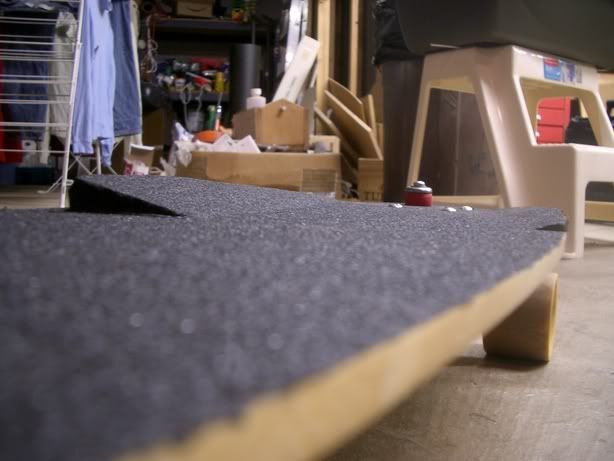
The foot wedge is made from the thicker foam and is angled with more meat under the heel of my foot (regular stance) and it tapers to less at the toe of my foot.
The front concave is made of the two different thicknesses of foam. I wanted to have more support under the heel of my foot, while still maintaining some support under my toe.
For the concave under the heel of my foot I used the thicker foam.
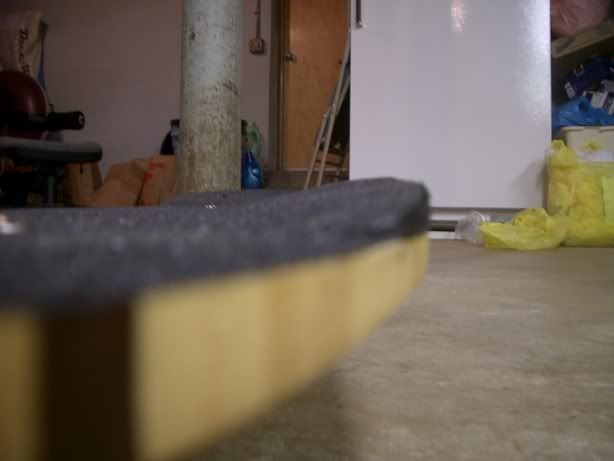
Then for the concave under the toe of my foot I used the thinner foam. The concave in the front is also angled to accomidate a regular stance rider.
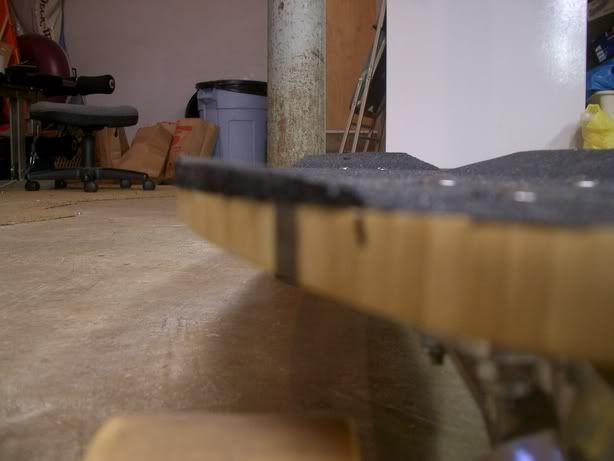
Overall I'm really happy with how the foam came out and it helps out alot with my stance and with leverage and such. The front concave really helps nicely with control and the rear wedge is great support when compared to a flat back (IMO).
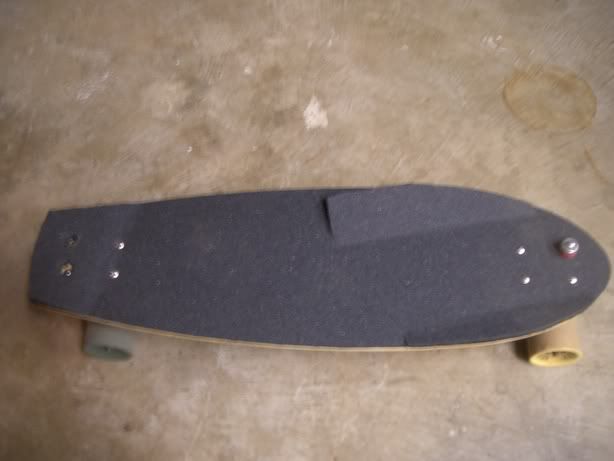
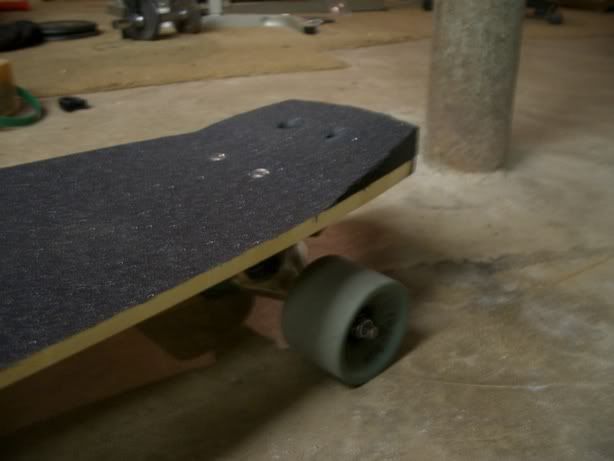
The foam cutting could have been alot smoother (it has rough sort of jagged edges) but it does the job. I tried using razor blades to cut it, but unless you made a clean, one motion cut through it, it ended up being jagged and rough. I also used a fine tooth saw which worked very well. It sliced through like butter and left a semi smooth texture, but wasn't as smooth as the razor blade could potentially be (without the jagged edges).
After the cutting, I wanted to smoothen out the rough edges so I tried using all sorts of different grits of sandpaper. None of them really proved to work well at all, so I figured, forget about it, function over fashion.
I'm definitely going to do a foam job on my PPS Duane Peters Hardcore now. After feeling the comfort of the foam, its something that I'd like on my other boards...
I made a rear footwedge and also concave for my front foot.
The foot wedge is made from the thicker foam and is angled with more meat under the heel of my foot (regular stance) and it tapers to less at the toe of my foot.
The front concave is made of the two different thicknesses of foam. I wanted to have more support under the heel of my foot, while still maintaining some support under my toe.
For the concave under the heel of my foot I used the thicker foam.
Then for the concave under the toe of my foot I used the thinner foam. The concave in the front is also angled to accomidate a regular stance rider.
Overall I'm really happy with how the foam came out and it helps out alot with my stance and with leverage and such. The front concave really helps nicely with control and the rear wedge is great support when compared to a flat back (IMO).
The foam cutting could have been alot smoother (it has rough sort of jagged edges) but it does the job. I tried using razor blades to cut it, but unless you made a clean, one motion cut through it, it ended up being jagged and rough. I also used a fine tooth saw which worked very well. It sliced through like butter and left a semi smooth texture, but wasn't as smooth as the razor blade could potentially be (without the jagged edges).
After the cutting, I wanted to smoothen out the rough edges so I tried using all sorts of different grits of sandpaper. None of them really proved to work well at all, so I figured, forget about it, function over fashion.
I'm definitely going to do a foam job on my PPS Duane Peters Hardcore now. After feeling the comfort of the foam, its something that I'd like on my other boards...

When in doubt... eat a pie!
-
Sean Cunningham
- Posts: 60
- Joined: Sat Jun 04, 2005 6:39 pm
- Location: HILLSdale, NJ
- Contact:
C-Block Foam Kit Setup...
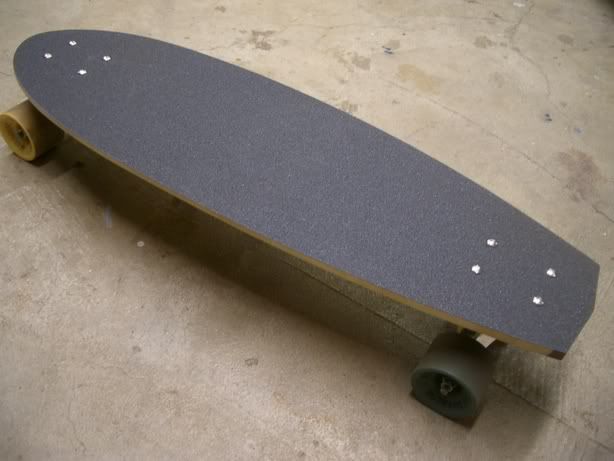
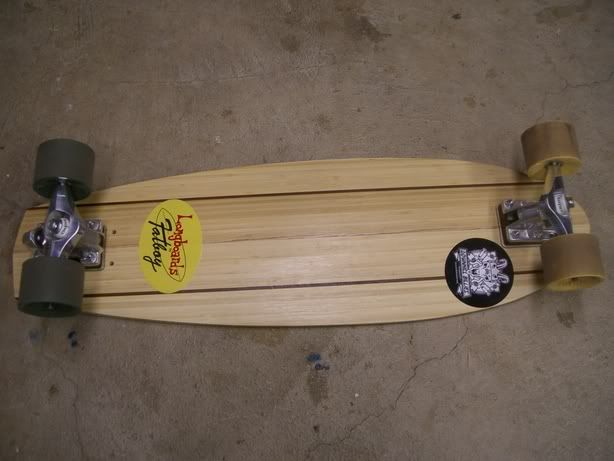
Alright guys, I just got a C-block kit for my Fatboy... and well, I'm unsure of how to set up the foam... I don't want to go overkill with the amounts of foam like some of you guys... yet I want to make sure I get the general idea of foam placement on the board...
Basically I was thinking of somehow making a front toe-stop... and maybe a rear footwedge to give it a nice "axe"-like feel to it... possibly some concave up front too... but I'm not that sure about it. Any suggestions for a first foam setup? It's basically a TS/Hybrid board... and I'm regular stanced...
Hoping you guys can help me out!
http://i6.photobucket.com/albums/y242/m ... bottom.jpg
http://i6.photobucket.com/albums/y242/m ... opgrip.jpg
http://i6.photobucket.com/albums/y242/m ... omshot.jpg
Sorry for not using the [IMG] method of posting pictures... photobucket hasn't been working well lately for me...
Thanks guys!
When in doubt... eat a pie!